
Visa Research From Scratch: A Practical Framework for Any Destination
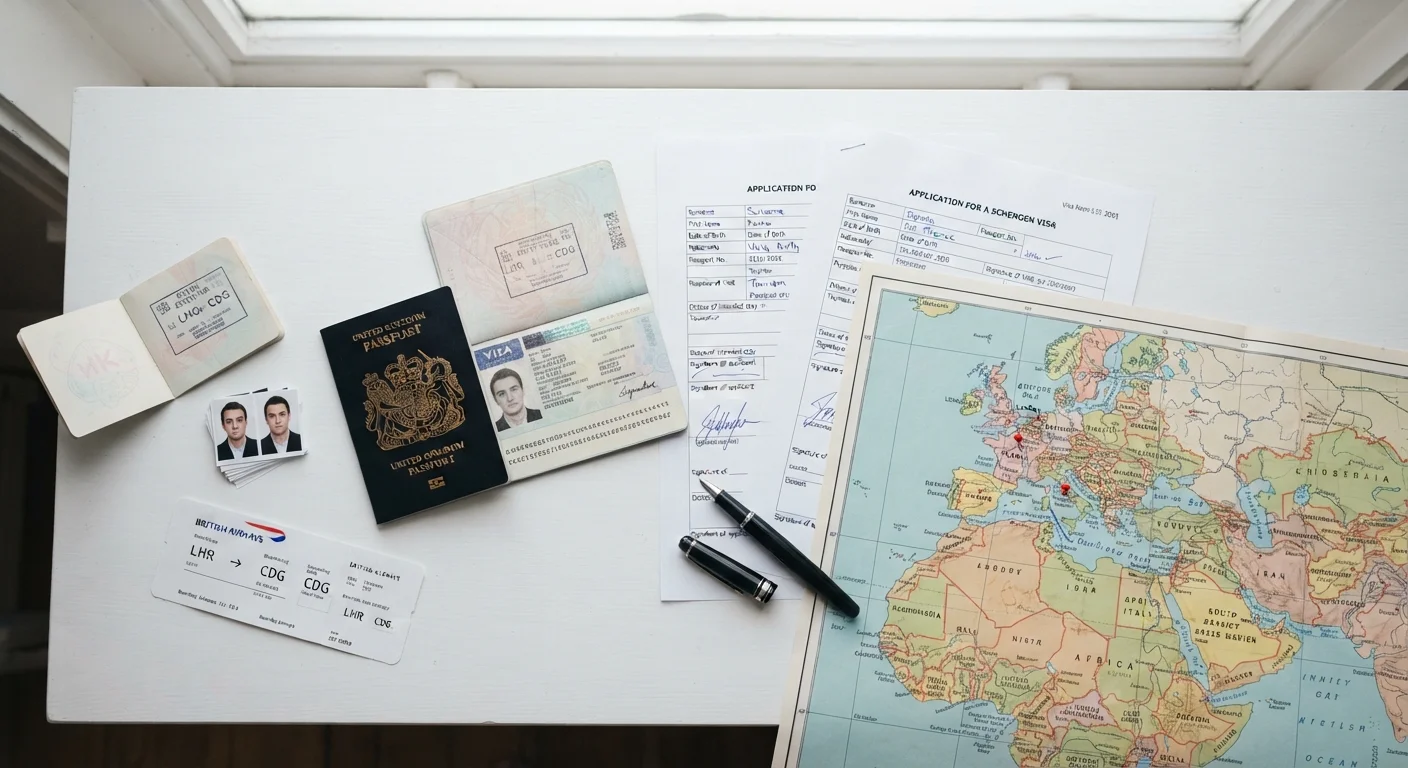
Photo credit: ExploreRoute.net | Travel Made Simple
In this article
A structured approach to understanding visa requirements, processing times, and documentation before you book any international trip.
Key Takeaways
- Always start visa research with your own government's official travel portal, not third-party booking sites.
- Processing times vary widely by season and consulate location — build in buffer weeks, not just days.
- Your passport's validity, blank pages, and prior stamps can all affect eligibility independently.
- Visa-on-arrival and e-visa rules change frequently; verify within 30 days of your travel date.
- Some destinations require proof of onward travel or sufficient funds before a visa is approved.
Why Visa Research Requires a Framework
Visa requirements are one of the most consequential — and most commonly under-researched — elements of international trip planning. Unlike flight schedules or hotel availability, entry requirements are determined by bilateral agreements between countries, your specific citizenship, the purpose of your visit, and sometimes the stamps already in your passport. A casual search rarely surfaces all relevant conditions.
This article is part of a broader pre-trip research checklist for international travel that covers health requirements, local laws, currency, and connectivity alongside entry requirements. Treating visa research as an isolated task — rather than one layer of a complete research process — is where many travelers run into preventable problems.
The framework below is designed to work for any destination and any citizenship. It prioritizes official sources, builds in time buffers, and accounts for the document-level details that determine whether an application succeeds.
What you will need
Tools and Sources You Will Use
Effective visa research depends on knowing which sources to trust. The hierarchy is straightforward: your own government's travel portal first, the destination country's official embassy website second, and all other sources only for surfacing questions — never for confirming answers.
Government Travel Advisory Portal
The primary authoritative source for entry requirements, visa categories, and safety advisories specific to your citizenship.
Destination Country Embassy Website
Provides the destination nation's official documentation requirements, fee schedules, and consulate contact details.
Passport (physical document)
Required for verifying validity period, blank page count, and existing visa stamps before researching eligibility.
Document checklist spreadsheet
A self-maintained log for tracking required documents, processing timelines, and source verification dates.
Third-Party Visa Sites Can Mislead
Many websites present themselves as official visa portals but are commercial intermediaries charging service fees. While some are legitimate facilitators, they may display outdated requirements or add unnecessary costs. Cross-reference any information from these sites against the destination country's actual embassy website before proceeding.
The Step-by-Step Research Process
Follow these steps in sequence. Skipping ahead — particularly to document collection before verifying your eligibility category — creates gaps that often surface at the worst possible moment.
Identify Your Passport Situation
Before researching a single requirement, audit your travel document. Note your passport's expiration date — many countries require at least six months of validity beyond your planned departure date. Count your blank pages; some nations require two to four consecutive blank pages for a visa stamp. If you hold dual citizenship, determine which passport offers the most favorable entry terms for your destination, as this can change your entire research path.
Start With Your Own Government's Official Source
Open your government's official travel advisory portal — for US citizens, that is travel.state.gov — and search for your destination country. This source reflects requirements as they apply to your specific citizenship, which is the variable that matters most. Note the visa category listed (visa-free, visa-on-arrival, e-visa, or consulate visa), along with any advisory notices. This is your research baseline, not your final answer.
Cross-Reference the Destination Country's Embassy
Locate the official embassy or consulate website for your destination country in your home country. This source publishes the receiving country's own requirements — which can differ in nuance from what your government's portal describes. Look specifically for: required supporting documents, fee structures, photograph specifications, and any special conditions such as proof of accommodation or travel insurance mandates.
Map Out Processing Times and Application Windows
Processing times are rarely fixed. Standard processing windows can expand significantly during peak travel seasons, national holidays in the destination country, or periods of high application volume. Note the standard processing time published officially, then add a personal buffer of at least two additional weeks for consulate-issued visas. For e-visas, confirm whether the system experiences known delays during certain periods. Never schedule non-refundable bookings around an optimistic processing estimate.
Compile Your Full Document List
Draft a complete list of every required document: passport, photographs, financial statements, hotel confirmations, travel insurance certificates, employment letters, or return flight bookings. Note the exact specification for each — photograph dimensions, bank statement date range, minimum account balances if required. Some destinations also check for prior travel stamps from specific countries, which can affect eligibility. This step is where most applicants discover gaps early enough to address them.
[important_callout]
Conduct a Final Verification Close to Your Travel Date
Visa rules can and do change between your initial research and your departure date. Set a calendar reminder to re-verify all requirements approximately 30 days before you travel. Pay particular attention to visa-on-arrival and e-visa categories, which are the most frequently modified. Confirm processing times again at this stage, as seasonal fluctuations may have shifted the window since your first check.
Build a Personal Visa Research Log
Create a simple spreadsheet tracking the source URL, date accessed, visa type, processing time quoted, and required documents for every destination you research. This log becomes invaluable when plans shift or you revisit the same region months later — and it keeps your verification trail intact.
Integrating Visa Research Into Your Broader Trip Planning
Visa timelines should anchor your overall trip planning calendar, not the other way around. If a destination requires a consulate-issued visa with a six-week processing window, that window determines when you can book non-refundable flights — not your preferred departure date working backward from a price drop.
Once entry requirements are confirmed and your application is submitted or approved, you can move into the next planning phases with confidence. The complete guide to crafting travel itineraries for any destination picks up from this point, walking through day-by-day scheduling in a way that accounts for realistic logistics rather than idealized timelines.
For travelers on cruises that call at multiple international ports, visa complexity multiplies quickly — each port may have different requirements depending on your citizenship. The cruise itineraries hub covers port-specific considerations worth reviewing alongside your visa research.
Completing this framework puts you in a position to build itineraries with full awareness of what entry actually requires — which is the foundation of any trip that goes as planned. From there, the itinerary building resources available on this site can help you translate confirmed logistics into a structured, day-by-day plan.
This article provides general travel information only. Visa requirements, processing times, and entry conditions change frequently and vary by individual circumstances. Always verify requirements with your government's official travel advisory service and the destination country's embassy or consulate before making any travel decisions or submitting applications.

Author
Travel Planning Editorial Team
Travel Planning Editorial Team is the collective byline for our editorial team and contributor network. Articles published under this byline or an editorial pen name are researched, written, and reviewed according to our editorial standards for clarity, consistency, and independence before publication.
View all articles →