
Scenic Drive Photography Without Stopping Every Five Minutes
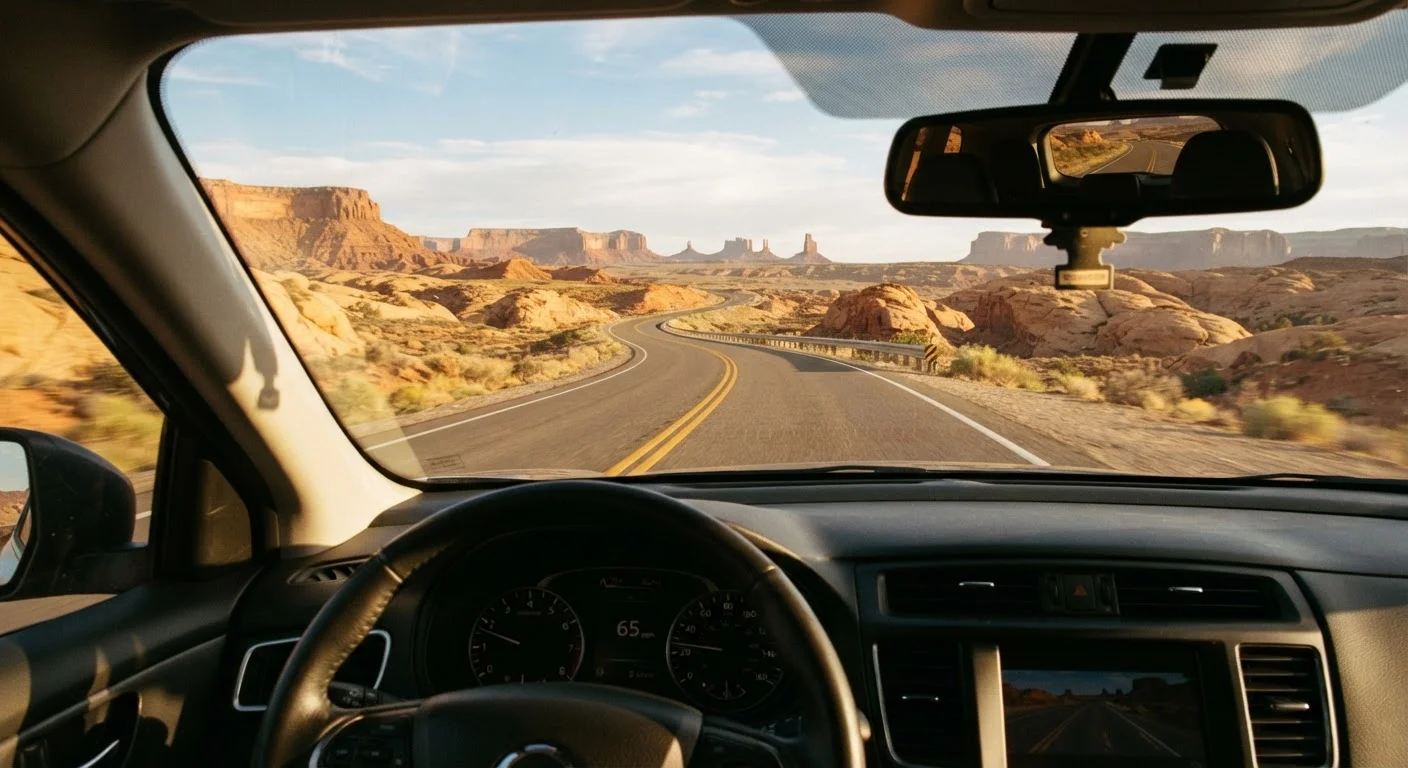
Photo credit: ExploreRoute.net | Travel Made Simple
In this article
Capturing a drive without constantly pulling over requires technique, timing, and some prep. Here's how to document the road as you travel it.
Key Takeaways
- Shooting through a clean windshield with a polarizing filter dramatically reduces glare and reflection.
- A mounted action camera or suction-cup rig lets you record continuously without touching the wheel.
- Golden hour light and overcast skies produce far more compelling frames than harsh midday sun.
- Pre-scouting your route on satellite maps helps anticipate the best shooting angles before you drive them.
- Burst mode and time-lapse settings capture road motion in ways a single frame cannot.
Why Driving Photography Is Its Own Discipline
Photographing from a moving vehicle isn't just a workaround for impatient travelers — it's a genuinely different craft. The road in motion has a visual rhythm that static images can't capture: the expanding horizon, the flicker of tree canopy, the way a highway curves and reveals itself incrementally. Done well, driving photography documents the experience of moving through a landscape rather than just the landmarks within it.
The challenge is that most camera instincts work against you. Stopping for every shot breaks the narrative thread of the journey. But not stopping at all — just hoping the camera catches something — produces a hard drive full of blurry, ill-framed frames. The techniques below thread the needle: they let you capture the drive as it unfolds, without constantly pulling over or letting the camera run wild.
If you're drawn to overlooked backroads and lesser-known corridors, this approach pairs especially well with understanding what a scenic route really means — because the drives worth photographing this way are rarely the ones with designated viewpoint turnouts every quarter mile.
What you will need
Setting Up Your Mobile Studio
Think of your vehicle as a moving camera platform. Everything you do before departure determines what's possible once you're rolling. Start with your equipment setup — mount position, filter, exposure presets — then work outward to your route knowledge and light timing. The steps below walk through that setup sequence in the order that makes the most sense logistically.
Keep Your Eyes on the Road
Photography should never compromise your driving. Camera operation, screen-checking, and adjusting mounts while moving are dangerous distractions. Set up all equipment before you leave, use voice-activated or one-touch controls where possible, and pull over safely anytime you need to make changes. No photograph is worth a collision.
Circular Polarizing Filter (CPL)
Cuts windshield glare and sky reflections, producing cleaner, more saturated images through glass.
Suction-Cup Windshield Mount
Holds your camera steady on the glass for hands-free, continuous shooting while you drive.
Action Camera (e.g. any wide-angle compact action cam)
Captures wide field-of-view time-lapses and continuous video of the road ahead without driver interaction.
Microfiber Cleaning Cloth
Removes interior haze, fingerprints, and dust from the windshield that appear as soft blur in photos.
Portable Power Bank or 12V Charger
Keeps cameras and phones charged during long continuous recording sessions.
Clean your windshield — inside and out
Interior windshield haze is the most common cause of soft, low-contrast in-car photos. Use a microfiber cloth to clean the entire interior glass surface before departure, paying particular attention to the upper center panel where fogging and oily film concentrate. On a dry morning, also clean the exterior. Even a faint film reads as a milky cast in images — especially when shooting toward the sun.
Mount your camera at the right angle before you move
Position your windshield or dashboard mount so the camera frames slightly above the hood line, capturing both road surface and horizon. A centered mount gives you the classic vanishing-point composition; an offset passenger-side mount captures more of the surrounding landscape. Run a short test in your driveway or parking lot — look for unwanted dash reflections in the frame and adjust accordingly.
Dial in your exposure settings for motion
At highway speeds, a shutter speed of 1/500s or faster will freeze road details cleanly. In lower morning or evening light — which produces the most dramatic landscapes — you may need to raise ISO to maintain a fast enough shutter. For time-lapses recording the journey as a whole, set your interval to every 2–5 seconds; this compresses an hour of road into a watchable clip without losing the sense of movement through terrain.
Use a polarizing filter to manage glare
Attach a circular polarizing filter (CPL) to your lens and rotate it until windshield reflections drop out of the frame. CPLs work best when your camera is angled 35–90 degrees from the light source, so they're most effective on morning or late-afternoon drives when the sun is to the side. They also deepen blue skies and add contrast to clouds — two things that make landscape photography feel dimensional rather than flat.
Time your drive to match the light
Golden hour — the 45–60 minutes after sunrise and before sunset — gives you low-angle, warm-toned light that sculpts terrain and eliminates the harsh shadows that flatten midday landscapes. Overcast skies act as a natural diffuser and are particularly good for forested or canyon drives where direct sun creates extreme contrast. If you're rethinking how fast you move through a landscape, aligning your pace with these light windows becomes much easier.
Pre-scout key moments using maps and elevation data
Before the drive, identify the moments most worth capturing: a ridge crest, a river crossing, a transition from forest to open prairie. Topographic maps and satellite view show you where those terrain shifts occur so you can have your camera rolling or be ready to trigger burst mode. This skill overlaps directly with learning to read a landscape from the driver's seat — the more you understand the geography, the better you anticipate the shot.
Pull over intentionally — but strategically
The goal isn't to never stop; it's to stop with purpose rather than impulse. Identify two or three planned pull-off points in advance using your map research. At these stops, get out for handheld shots, experiment with different focal lengths, and capture what the mounted camera can't — a wide landscape, a roadside detail, or the road receding into the distance behind you. Planned stops feel like rewards rather than interruptions.
Making the Most of What You Capture
Raw footage and burst sequences from a moving vehicle require curation. Plan to review your material at the end of each driving day rather than letting it accumulate. Time-lapse clips benefit from light grading — a slight contrast boost and color temperature adjustment to match the warmth of the actual light — but resist the urge to over-process. The best driving photography feels immediate and honest, not manufactured.
Use Satellite View Before You Drive
Pulling up satellite imagery of your route the night before reveals terrain texture, tree canopy density, and likely sunrise and shadow angles. This kind of pre-visualization means you already know where the ridge break is coming or where the road opens into a valley — so you're camera-ready rather than scrambling. It pairs naturally with the broader route-research habits covered in planning a hidden scenic drive.
Windshield Mounts Are Not All Equal
Suction-cup dashboard mounts vary widely in holding strength, and a camera dropping onto the dash at highway speed is a genuine hazard. Test your mount at low speed before committing to a long drive. In hot climates, suction cups can lose grip on warm glass — check seating regularly during stops.
The most overlooked step is sequencing: organizing your images and clips in the order you drove them, so the visual story mirrors the actual journey. That sequencing transforms a collection of photos into a road narrative — and that's ultimately what scenic drive photography is about.

Author
Road Trip Culture Editorial Team
Road Trip Culture Editorial Team is the collective byline for our editorial team and contributor network. Articles published under this byline or an editorial pen name are researched, written, and reviewed according to our editorial standards for clarity, consistency, and independence before publication.
View all articles →