
International Arrivals Decoded: Immigration, Customs, and Baggage Claim Step by Step
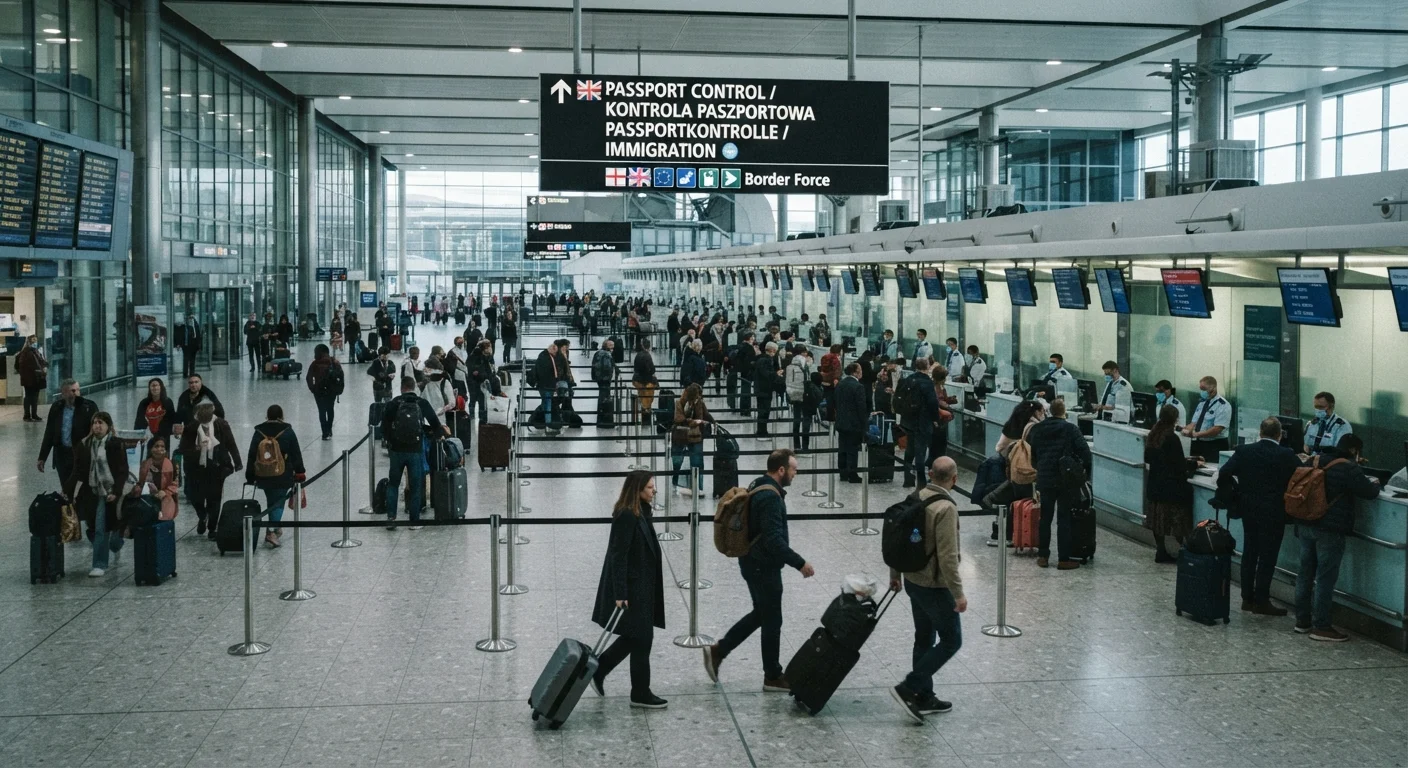
Photo credit: ExploreRoute.net | Travel Made Simple
In this article
Landing in a foreign country involves several sequential processes that aren't always well-signposted. A clear breakdown of what happens after the plane doors open.
Key Takeaways
- Immigration, baggage claim, and customs are three distinct, sequential processes each with its own rules.
- Having travel documents organized before queuing at passport control meaningfully reduces wait time.
- Customs declarations are a legal requirement — non-disclosure can carry serious penalties.
- Baggage carousel assignments are posted on airport screens; confirm yours before choosing a position.
- Digital pre-arrival authorizations must be completed before you board, not upon landing.
Why the Arrivals Process Feels More Complicated Than It Is
For frequent travelers, international arrivals can still feel opaque — particularly at unfamiliar airports or in countries with distinct entry protocols. The process involves three separate governmental or regulatory functions — immigration, baggage reclaim, and customs — each managed by different agencies with different rules and authorities. Understanding that structure is the first step to moving through it efficiently.
A well-prepared traveler is also a faster traveler. Research visa requirements and entry authorizations well in advance; many countries now require pre-registration through digital systems that cannot be completed at the border. For a comprehensive pre-departure framework, consult the pre-trip research checklist for international travel before your next international flight.
What you will need
This guide covers the standard sequence for international arrivals at major airports. Specific rules — particularly around customs thresholds, biometric enrollment, and restricted items — vary by destination country. Always verify current requirements through official government immigration and customs websites before travel.
Tools and Documents You'll Need Ready
Passport
Primary identity and nationality document required at passport control for every international arrival.
Visa or electronic travel authorization
Country-specific entry permission; required format varies — confirm requirements well before departure.
Customs declaration form
Legally required document disclosing goods, currency, and restricted items being brought into the country.
Baggage claim receipt or luggage tag reference
Used to verify ownership of checked bags if questioned, and to file a missing baggage report if needed.
Local currency or internationally accepted payment card
Needed immediately after clearing arrivals for ground transport, fees, or incidental expenses.
Organizing these items before boarding — rather than searching for them mid-queue — is one of the most reliable ways to reduce friction at arrival. For context on how security and document checks work on the departure side of the journey, our airport security walkthrough covers the full outbound sequence. For a broader view of the end-to-end airport experience, see Mastering the Airport Experience End to End.
Step-by-Step: From Aircraft Door to Arrivals Hall
Disembark and follow arrivals signage
Once the aircraft doors open, gather your carry-on items and follow the International Arrivals or Passport Control signs without deviation. Most large airports use consistent color-coded directional systems. Do not follow Departures or Transfer signs unless you have a connecting flight at that airport.
Use this transit time — which can span 10 to 20 minutes of walking in large hub airports — to retrieve and organize your documents. For tips on navigating large connecting airports, see our hub airport navigation checklist.
Queue in the correct passport control lane
Most international airports separate arrivals into at least two queue categories: citizens/residents of the destination country and foreign nationals/visitors. Entering the wrong lane causes delays and requires you to restart at the back of the correct queue.
Some countries offer automated e-gates for eligible passport holders (typically those enrolled in trusted-traveler programs or holding biometric passports from approved nations). Confirm eligibility from official government sources before assuming you qualify.
Present documents at the immigration booth
Hand the officer your passport and any required entry documents — visa, electronic authorization, or arrival card — without being asked. Be prepared to answer standard questions: purpose of visit, duration of stay, and your accommodation address. Answers should be concise and honest.
The officer may take biometric data (fingerprints, photograph) depending on the country's entry protocols. This is standard procedure in many jurisdictions, including the United States, the United Kingdom, and the European Union's EES system (when operational).
Proceed to baggage claim and locate your carousel
After clearing immigration, follow signs to the Baggage Reclaim or Baggage Claim hall. On the overhead information screens, locate your flight number and confirm which carousel number has been assigned. This can change between landing and your arrival at the hall.
Stand back from the belt until bags begin arriving — crowding the edge makes it harder for everyone to retrieve luggage efficiently. Most bags begin appearing 15 to 30 minutes after landing, though this varies by airport, aircraft size, and ground handling capacity.
Report missing or damaged baggage before leaving the hall
If your bag does not appear after the carousel has emptied and been confirmed complete, do not exit the baggage claim area. Locate the airline's baggage services desk — typically positioned within the baggage hall — and file a Property Irregularity Report (PIR) on the spot. You will need your boarding pass and baggage receipt.
Reporting missing bags after leaving the controlled baggage area complicates the claim process significantly. Keep copies of all reference numbers provided.
Complete your customs declaration and pass through customs
Customs is the final controlled checkpoint before you enter the public arrivals area. Most countries use a two-channel system: Nothing to Declare (green) and Goods to Declare (red). Some also use a separate channel for EU or regional bloc travelers where applicable.
Use the red channel if you are carrying: goods exceeding the duty-free allowance, commercial merchandise, restricted items (such as certain foods, plants, or medications), or currency above the declared threshold (commonly USD $10,000 or equivalent). Allowances vary by country — verify current limits through official government sources before travel. Using the green channel when you have declarable goods is a customs offense.
Use Arrival Time Wisely
The walk from the gate to passport control in a large international terminal can take 15 minutes or more. Use that time to complete any paper arrival cards, separate your documents, and confirm your accommodation address — details you may be asked to provide at the booth. Arriving at the queue organized saves time for you and the travelers behind you.
Pre-Arrival Authorizations Cannot Wait Until Landing
Electronic travel authorizations such as the US ESTA, Canada's eTA, or the UK's ETA must be approved before you board your flight — airlines are required to verify them at check-in. Attempting to obtain one at the airport after landing is not possible. Apply through official government portals well ahead of your departure date, and keep the approval confirmation accessible during travel.
Common Points of Confusion and How to Handle Them
Transit vs. arrival: If you are connecting to another international flight at the same airport, you typically do not clear full immigration — you use a dedicated transit corridor. Confirm this with your airline before landing, as rules differ by country and some routes require full re-entry even for connections.
Arriving with prescription medication: Many countries regulate the import of prescription drugs. Carry medications in their original labeled packaging, bring a copy of the prescription, and — for controlled substances — research the specific country's import regulations through official sources before departure. This applies even to medications that are entirely unrestricted in your home country.
Currency declaration: Carrying large amounts of cash internationally is legal in most jurisdictions, but amounts above the reporting threshold (commonly USD $10,000 equivalent) must be declared. Failure to declare does not typically result in confiscation of lawful funds on its own, but it can trigger investigation and seizure depending on circumstances.
This article provides general informational guidance on international arrivals processes. Entry requirements, customs allowances, and immigration procedures vary by country and change over time. Always verify current requirements through official government sources — including embassies, customs authorities, and travel advisories — before you travel.

Author
Smart Air Travel Editorial Team
Smart Air Travel Editorial Team is the collective byline for our editorial team and contributor network. Articles published under this byline or an editorial pen name are researched, written, and reviewed according to our editorial standards for clarity, consistency, and independence before publication.
View all articles →